Our previous post explained how to create your custom blockchain using the Parachain Runtime Builder (PRB). We also covered some of the most common blockchain use cases and pre-built templates that you can use to implement them.
This post will guide you through the following steps after generating your project with PRB. Specifically, we will show you how to set up your local node, interact with it, and test the functionalities of your blockchain.
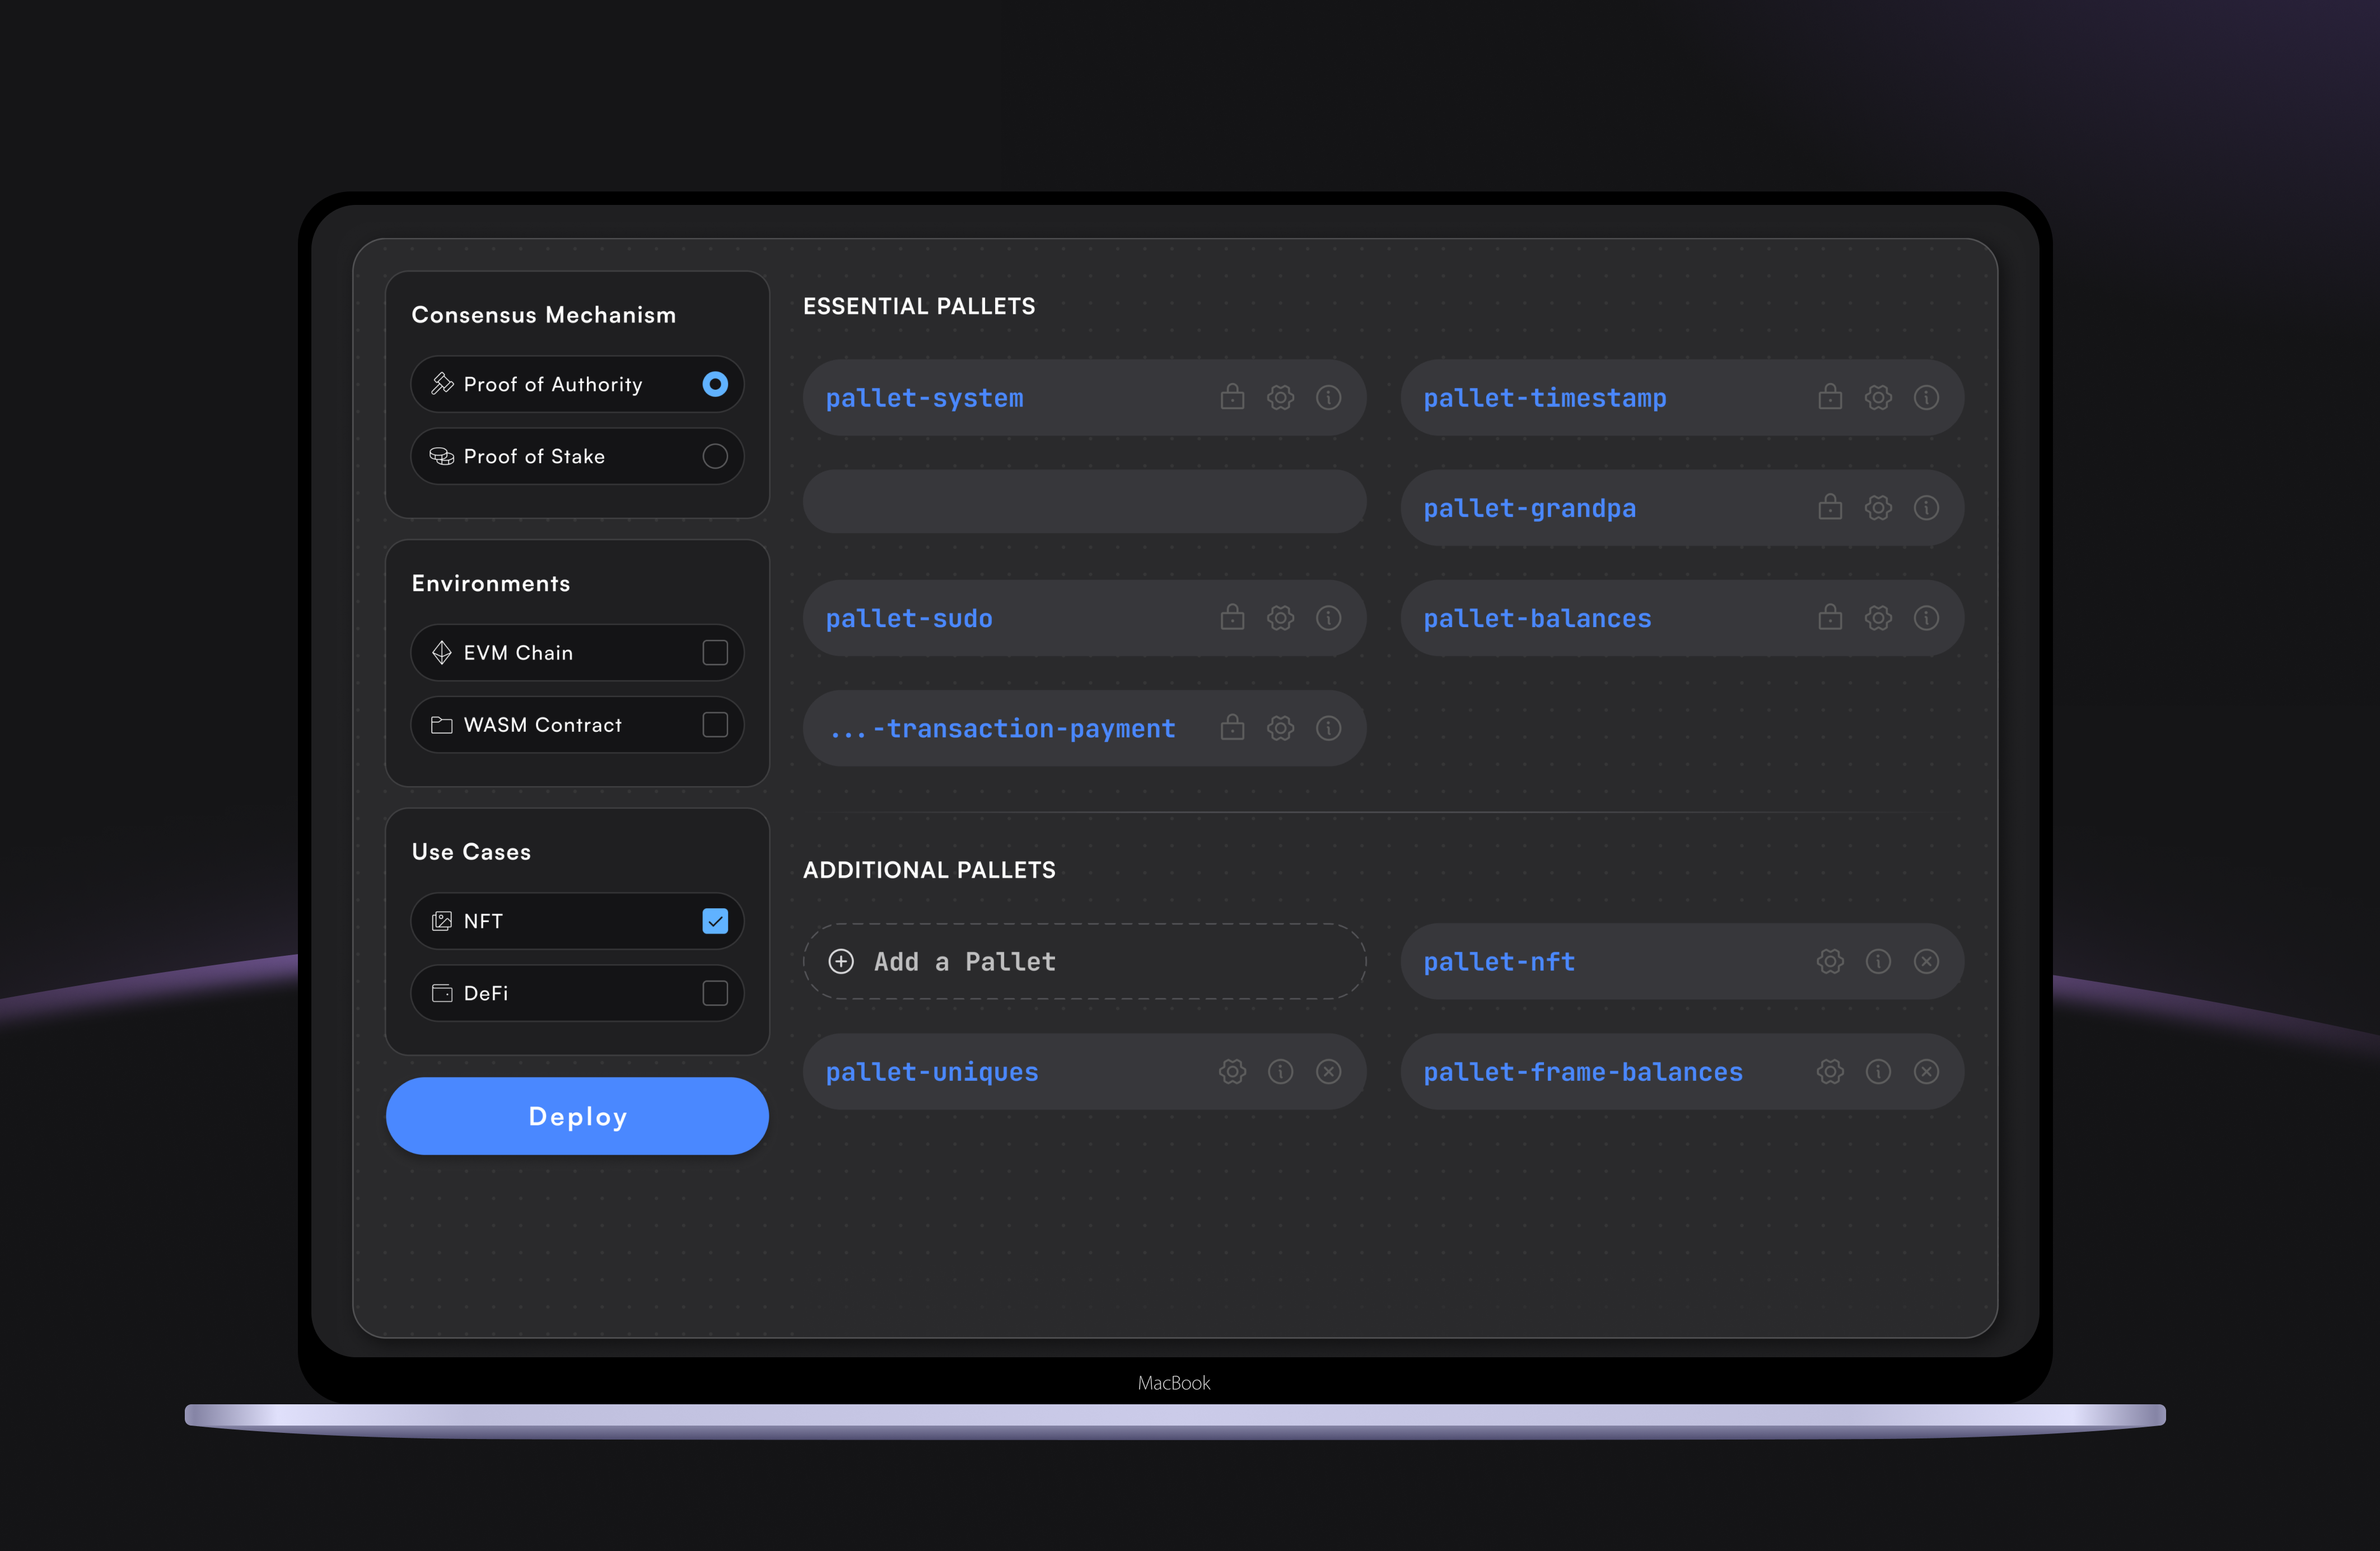
Note: We have created a Solochain with an NFT use case for this guide, utilising the pallet-nfts and pallet-nfts-fractionalization. To follow the instructions below for interacting and testing, you will need to navigate to the Parachain Runtime Builder and create a blockchain with the same features. This guide will still be valuable if you prefer to use your custom blockchain generated with PRB. The first part (setting up the local node) remains the same, but the second part (interacting with the chain) will slightly differ depending on the functionalities of your blockchain.
Setting Up a Local Node
Navigate to the Project and Build It
After downloading your generated project, open a terminal and navigate to the project folder: 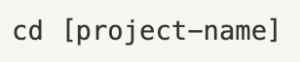
Next, build your project:

The build process may take from 10 to 30 minutes, depending on your computer’s performance.
Start the Node
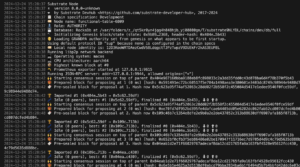
Once the build is complete, start the local node using the following command:

This will launch a development chain where the state is not persisted after a restart.
Interact & Test Blockhain Functionalities
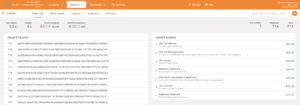
With the node running, navigate to the Polkadot.js App website to interact with and test your chain’s functionalities.
Checking the Blockchain State
To inspect the state of your blockchain:
- Navigate to Network > Explorer in the Polkadot.js app.
- View the latest blocks and events on your chain.
Creating an NFT Collection
To create a new NFT collection:
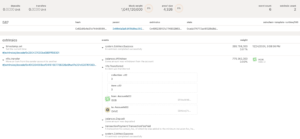
1. Go to Developer > Extrinsics.
2. Select an account (e.g. Alice) and a pallet-nfts
3. Execute the create(admin, config) function:
- Admin: Set Bob as the admin.
- Collection ID: Set it to 0
Minting NFTs
To mint your first NFT:
1. Switch to the collection admin account (Bob).
2. Execute the mint(collection_id, item_id, recipient) function:
- Collection ID: Use 0.
- Item ID: Enter any number
- Recipient: Select the account to receive the NFT
Additional Functionalities
You can also explore these features:
- Transfer an NFT: Use approveTransfer followed by transfer.
- Set Metadata: Use the setMetadata function.
- Set NFT Price: Use the setPrice function.
Tracking events
Finally, all events are visible in the Explorer section of Polkadot.js Apps, allowing you to see in which block each function was executed.
PRB: Future Improvements
We aim to continuously improve the Parachain Runtime Builder and automate as much of the process of deploying your custom blockchain to testnet and mainnet as possible. This includes the steps detailed here, setting up nodes and testing blockchain functionalities, which are next on our roadmap for automation.
If you encounter any issues while following these steps, feel free to reach out to us at [email protected]. We are happy to assist you in interacting with and deploying your blockchain to testnet or mainnet. Additionally, we look forward to your suggestions on further refining this process and improving our platform.